


The Ultimate Guide to EcoFlow Power Kit Installation and Setup
For vanlifers, RV owners, and tiny home enthusiasts, having a reliable off-grid power system is essential. The EcoFlow Power Kit is quickly becoming one of the top solutions for those seeking simplicity, flexibility, and powerful energy output.
For vanlifers, RV owners, and tiny home enthusiasts, having a reliable off-grid power system is essential. The EcoFlow Power Kit is quickly becoming one of the top solutions for those seeking simplicity, flexibility, and powerful energy output. Whether you're building out a van or upgrading your off-grid setup, this guide walks you through everything you need to know about EcoFlow Power Kit installation and setup.
What is the EcoFlow Power Kit?
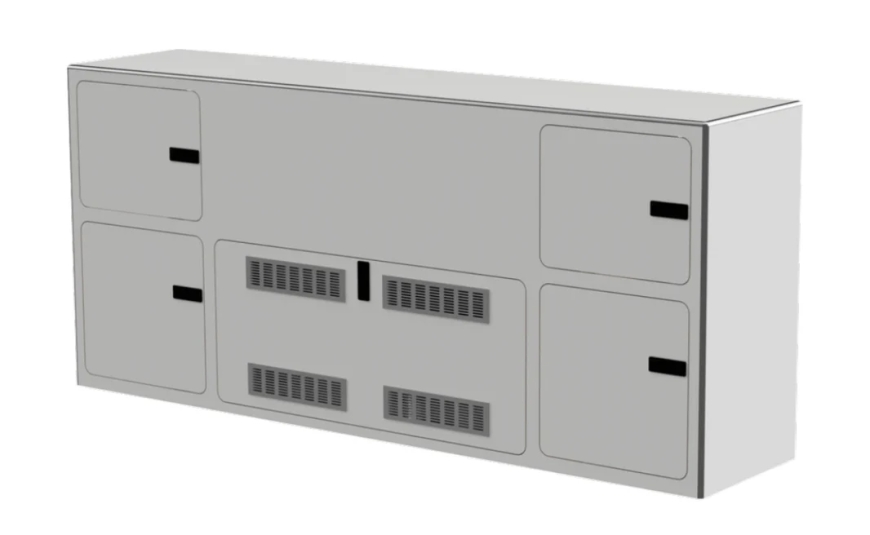
EcoFlows Power Kit is an all-in-one modular energy solution designed for compact living spaces. It combines batteries, a Power Hub, solar input, shore power charging, and a smart distribution panelall in a streamlined, plug-and-play design. It offers up to 15kWh of expandable storage, efficient power management, and real-time monitoring via a mobile app.
This makes it a great choice for people looking to simplify their off-grid energy systems without sacrificing performance.
Benefits of the EcoFlow Power Kit
Before diving into the EcoFlow Power Kit setup, lets look at why it's such a game changer:
-
Modular design for easy customization
-
Plug-and-play connectorsno deep electrical knowledge needed
-
High-capacity batteries (2kWh to 5kWh each)
-
Integrated inverter, MPPT controller, and DC-DC charger
-
Smart energy monitoring through the EcoFlow app
-
Quiet, clean energy powered by solar or shore power
Now lets move on to the installation process.
Step-by-Step EcoFlow Power Kit Installation
While EcoFlow has made the Power Kit extremely user-friendly, a successful installation still requires some planning. Here's a basic overview of how to get started:
1. Plan Your Layout
Before unboxing anything, determine where each component will go: Power Hub, batteries, solar charge controllers, and AC/DC distribution panels. Good airflow and secure mounting locations are crucial.
2. Mount the Components
Secure the Power Hub and batteries using EcoFlows provided brackets or approved mounts. The components are compact, but proper spacing ensures heat dissipation and easy access.
3. Connect the Cables
One of the best features of the EcoFlow Power Kit setup is the simplified wiring. Use the labeled connectors to plug in:
-
Battery to Power Hub
-
Solar input (if available)
-
Shore power (AC charging input)
-
AC and DC outputs to your appliances
All cables are color-coded and pre-terminated, making installation fast and safe.
4. Install the Smart Panel
The EcoFlow Smart Distribution Panel allows you to control and monitor your AC and DC circuits. Mount it in a convenient location, connect it to the Power Hub, and assign circuits as needed.
5. Power Up and Configure
Once all components are connected, power up the system. Use the EcoFlow app to name your circuits, monitor battery levels, and adjust charge settings. The app offers real-time insights and remote control functionality.
Final Thoughts
The EcoFlow Power Kit installation process is straightforward compared to traditional off-grid systems. Its clean design and intelligent features make it ideal for vans, cabins, or small homes. With plug-and-play simplicity, even DIY builders can manage a safe and reliable EcoFlow Power Kit setup in a matter of hours.
Whether you're a weekend warrior or full-time nomad, the EcoFlow Power Kit brings smart, sustainable energy to your mobile lifestyle.